Near post
The cell beside the keeper on the ball side. It looks close. It is also the cell he is already covering. A near-post strike is the first one the reach rule kills.
tipmora
Penalty Architect
Scheme 01
Net found
Eight frozen frames
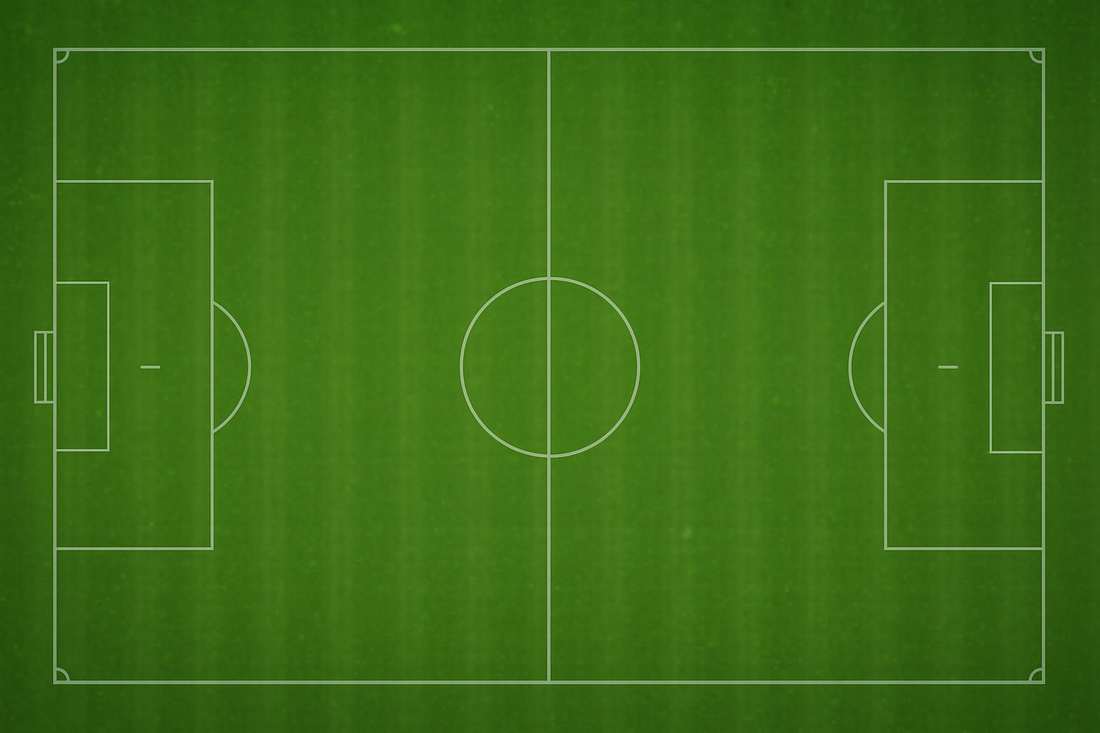
Each board is a stopped attacking picture. Clear it and the next defensive shape unlocks. Marks rise when you finish with actions still in the budget.
How unlocking works
You cannot skip a scheme. The next picture stays sealed until the current net is found. Resetting a cleared scheme never locks it again.

The late arrival
Most attacks die on the second pass. The first shirt is watched. The second shirt is closed. The third shirt is the one the last line did not budget for.

The picture
A playmaker holds. A runner sprints toward the near post. Markers collapse on that run because it looks like the finish. The far shirt, arriving a beat later, is the one who actually receives. Tipmora treats that late shirt as an action you must draw, not a lucky bounce.
A dummy is not ornament. It is a one-square theft. The nearest marker steps toward the dummy and leaves a lane that did not exist on the freeze-frame.
The pass is the contract. If the lane still crosses a marker, the contract is void. Change the geometry with a run before you draw the lane, not after.
The third man starts behind the trap line, receives while onside, then carries. If you station him ahead of every marker before the pass, the freeze-frame calls it dead.

Against a packed line
Four shirts in a row are not a puzzle you solve with power. You solve them by moving one body. Dummy the covering marker, then use the hole he leaves. Crowded Box is written around that single idea.
The box as a room
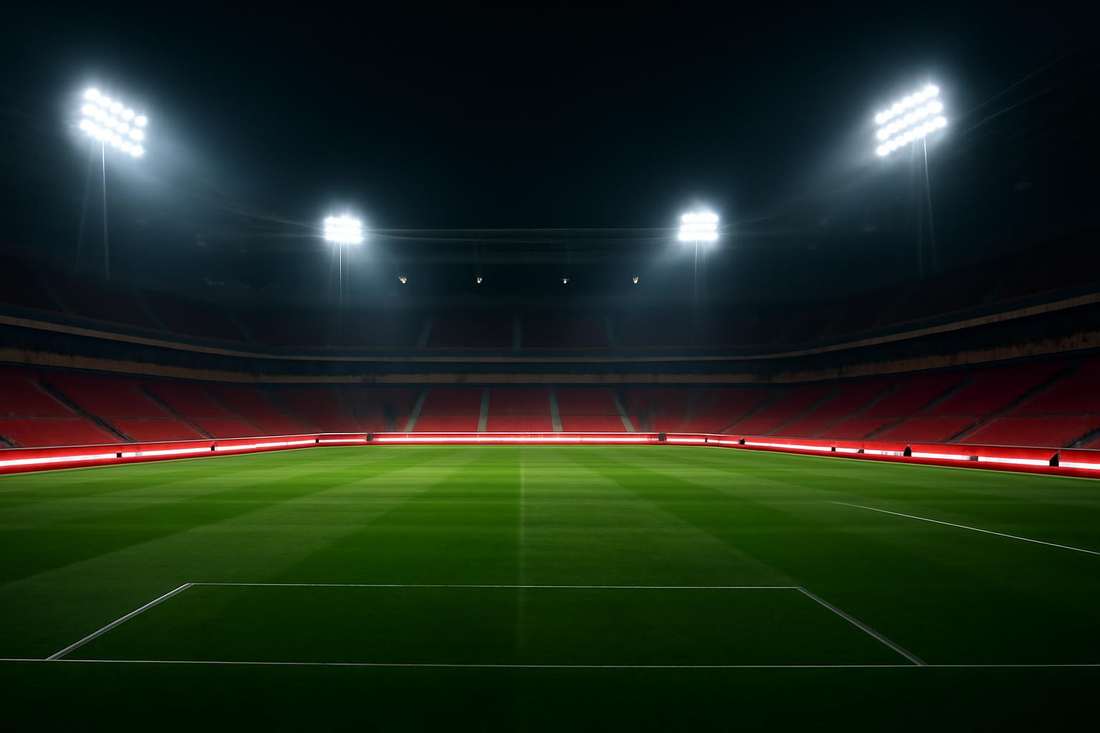
The penalty area is not a flat rectangle. It is a set of rooms with different exits. Tipmora names those rooms so a strike is a choice of door, not a hope.
The cell beside the keeper on the ball side. It looks close. It is also the cell he is already covering. A near-post strike is the first one the reach rule kills.
The far upright is the long diagonal. It asks you to drag the keeper one way, then hit the emptied cell. Wrong Foot exists to teach that drag.
The grass just outside the six-yard, wide of the keeper. A run into that square turns a blocked spine into a strike that never enters his reach.
Strikes from deep travel more squares, so more markers can stand on the lane. Far Post forbids a finish from inside the box and forces you to open that long lane first.
Why the board is frozen
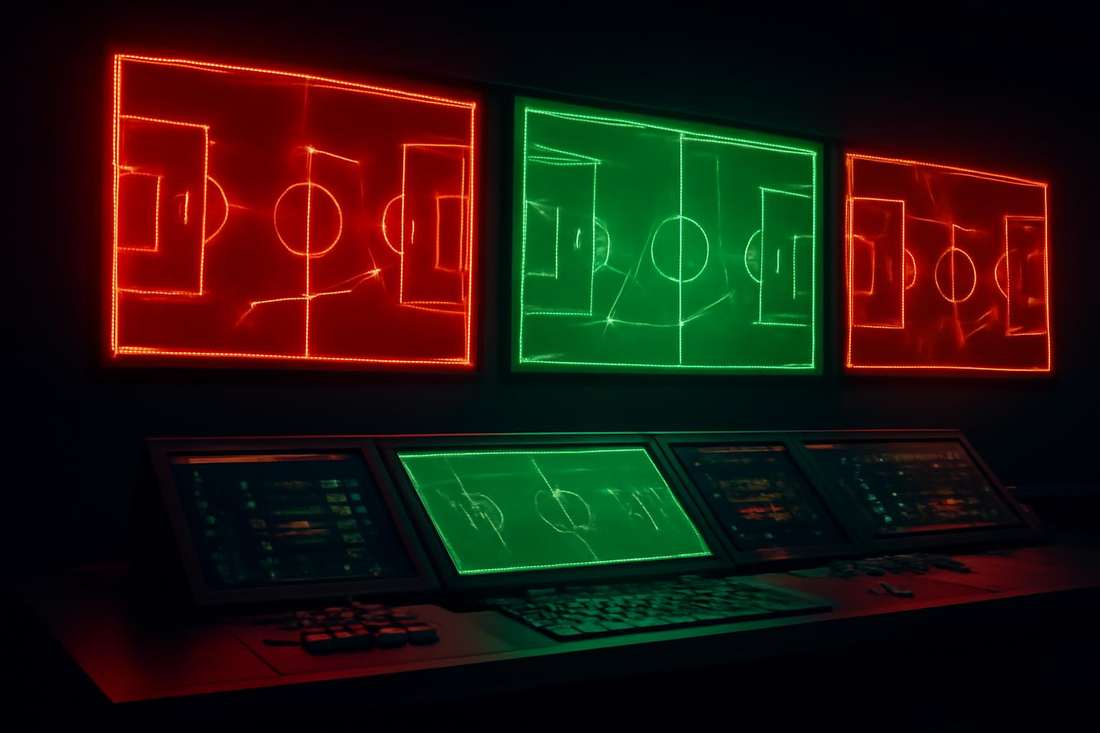
A live match hides the geometry behind speed. Tipmora stops the picture so you can spend actions like a planner: move a body, draw a lane, choose a door. The run button is only there to prove the drawing.
Keeper reach
Reach 0 means the keeper holds only his own square. Reach 1 means every neighbouring square is his. If your strike path steps through that neighbourhood, the net is not yours. Change the start square or move him with a prior action.
Shirts on the freeze-frame
Numbers on the chips are not decoration. They tell you which body is allowed to do the ugly work, and which body is the finish.
8 · Playmaker
He starts most schemes with the ball. His job is to wait until the picture is legal: dummy complete, runner onside, lane clear. A playmaker who strikes too early is a blocked spine.
7 / 11 · Winger
The overlap is his whole identity. If you pass to where he stands, the covering marker is already there. If you run him first, you pass into a square that did not exist on the freeze-frame.

1 · Keeper
He does not chase the ball until a scheme says he does. On Wrong Foot he steps toward the carrier after every action. Drag him with a run, then switch. He cannot be dummy-pulled. He is not a marker.
× · Markers
They intercept any pass or strike that visits their square. Dummy is the only tool that moves them. They never leave the grass on their own. Treat them as architecture you can shift by one brick.
The runner
A dummy from a runner is often the cheapest way to buy a lane. He does not need the ball. Spend him first, then spend the pass. Schemes that feel impossible usually skipped this shirt.
Stored on this device
Cleared schemes, best scores, and recent runs stay on this phone. There is no account. Clearing app data erases the ledger.
No finished schema yet. Find a net on the board.
Marks
Three marks mean you finished with at least two actions unspent. Two marks mean one left. One mark is a net found on the last available action. The ledger keeps the highest mark per scheme.